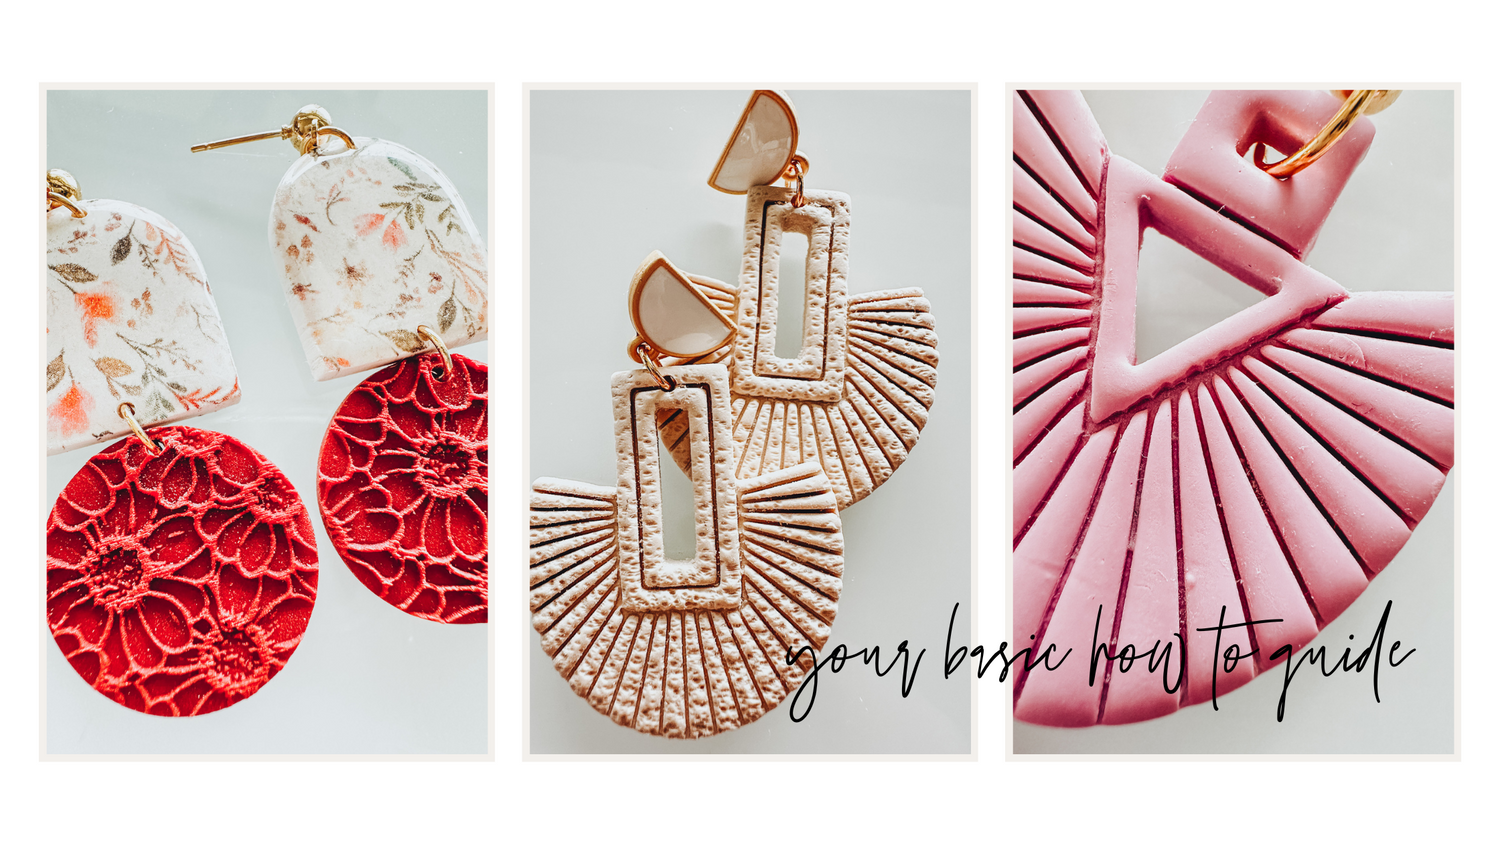
How To Make Polymer Earrings
Your Basic Guide to Crafting Polymer Clay Earrings: Tools and Step-by-Step Instructions
Unlock the art of handmade jewelry with our basic guide to creating beautiful polymer clay earrings! Whether you're a crafting novice or an experienced artisan, this guide will walk you through the necessary tools and a clear, step-by-step process to make stunning earrings from start to finish.
Tools and Supplies Needed:
Polymer Clay: Choose a variety of colors to create vibrant and unique designs. We love brands Sculpey Souffle' and Sculpey Premo.
Rolling Pin or Smooth Acrylic Roller: For rolling out the clay evenly.
Clay Cutters: Various shapes and sizes for cutting out your earring designs.
Craft Blade (also know as tissue blade): To lift unbaked clay charms if needed.
Needle Tool Or Dremel : For creating holes in the clay pieces.
Glossy Ceramic Tile : To cut your clay pieces on and/or place your clay pieces on while baking.
Oven: To cure the clay, follow the baking instructions specific to your polymer clay brand.
Earring Findings:
Earring Hooks or Posts: To attach to your clay charms after baking.
Jump Rings: For connecting the clay to the earring findings.
Pliers: For opening and closing jump rings.
Sanding Supplies You can use a fine sand paper, or a dremel with a wool buffing tool on the end. This is for smoothing and polishing the finished earrings after the clay is baked. However, sanding will be minimal if you choose to use our clay cutters, as they’re exceptionally sharp and deliver clean, effortless cuts every time.
Adhesive (Optional): For attaching stud posts to the backs of your clay charm tops or studs.
Pasta Machine: When rolling out your clay, you can use a rolling pin or acrylic roller, but for perfectly even thickness, we highly recommend using a pasta machine or our 3mm thickness guides with your acrylic roller.
Step-by-Step Guide:
- Prepare Your Workspace: Set up a clean, flat surface and cover it with parchment paper to prevent the clay from sticking. We recommend working on a glass or glossy ceramic surface to keep the clay smooth and level.
- Roll Out the Clay: Use a rolling pin or smooth acrylic roller to flatten the clay to a thickness of about 1/8 inch (3 mm). Ensure an even thickness for consistent baking results.
- Cut Out Your Earring Shapes: Select your clay cutters and press them into the rolled-out clay to create your desired earring shapes. If your clay cutter is sticking when you press it into the clay, try dipping it in water or cornstarch. Just tap off the excess lightly before cutting. This trick will help prevent the cutter from sticking and pulling up the clay, making your process smoother and more efficient.
- Make Holes for Findings: Use a needle tool or pin to create holes in the clay shapes prior to baking where the earring hooks or posts will be attached. Ensure the holes are appropriately sized for the jump rings. After baking, you can also use a Dremel tool for this step. We recommend using a drill bit that's approximately 1.5 mm and starting with a slow speed on your Dremel while you're getting the hang of it. This will help you achieve precise results as you learn.
- Bake the Clay: Preheat your oven to the temperature specified on the polymer clay package (usually around 275°F or 135°C). Place the clay shapes on a baking sheet lined with parchment paper, or if you are working on a glossy ceramic tile you can keep them on the tile and bake them directlty on this surface. Bake your clay charms according to the manufacturer's instructions, typically for 15-60 minutes, depending on the thickness of your clay.
- Cool and Sand Your Earrings: Allow the baked clay to cool completely. If needed, use sandpaper or your dremel with the wool buffer to smooth any rough edges. Finish by rinsing off the dust from sanding under cool water and drying with a paper towel.
- .Assemble Your Earrings: Use Jewelry pliers to open the jump rings and thread them through the holes in your clay pieces. Attach the jump rings to your earring hooks or posts and secure them by closing the jump rings tightly with pliers.
- Wear and Enjoy: Your handcrafted polymer clay earrings are now ready to wear or gift to someone special. Enjoy showing off your beautiful handmade earrings!


