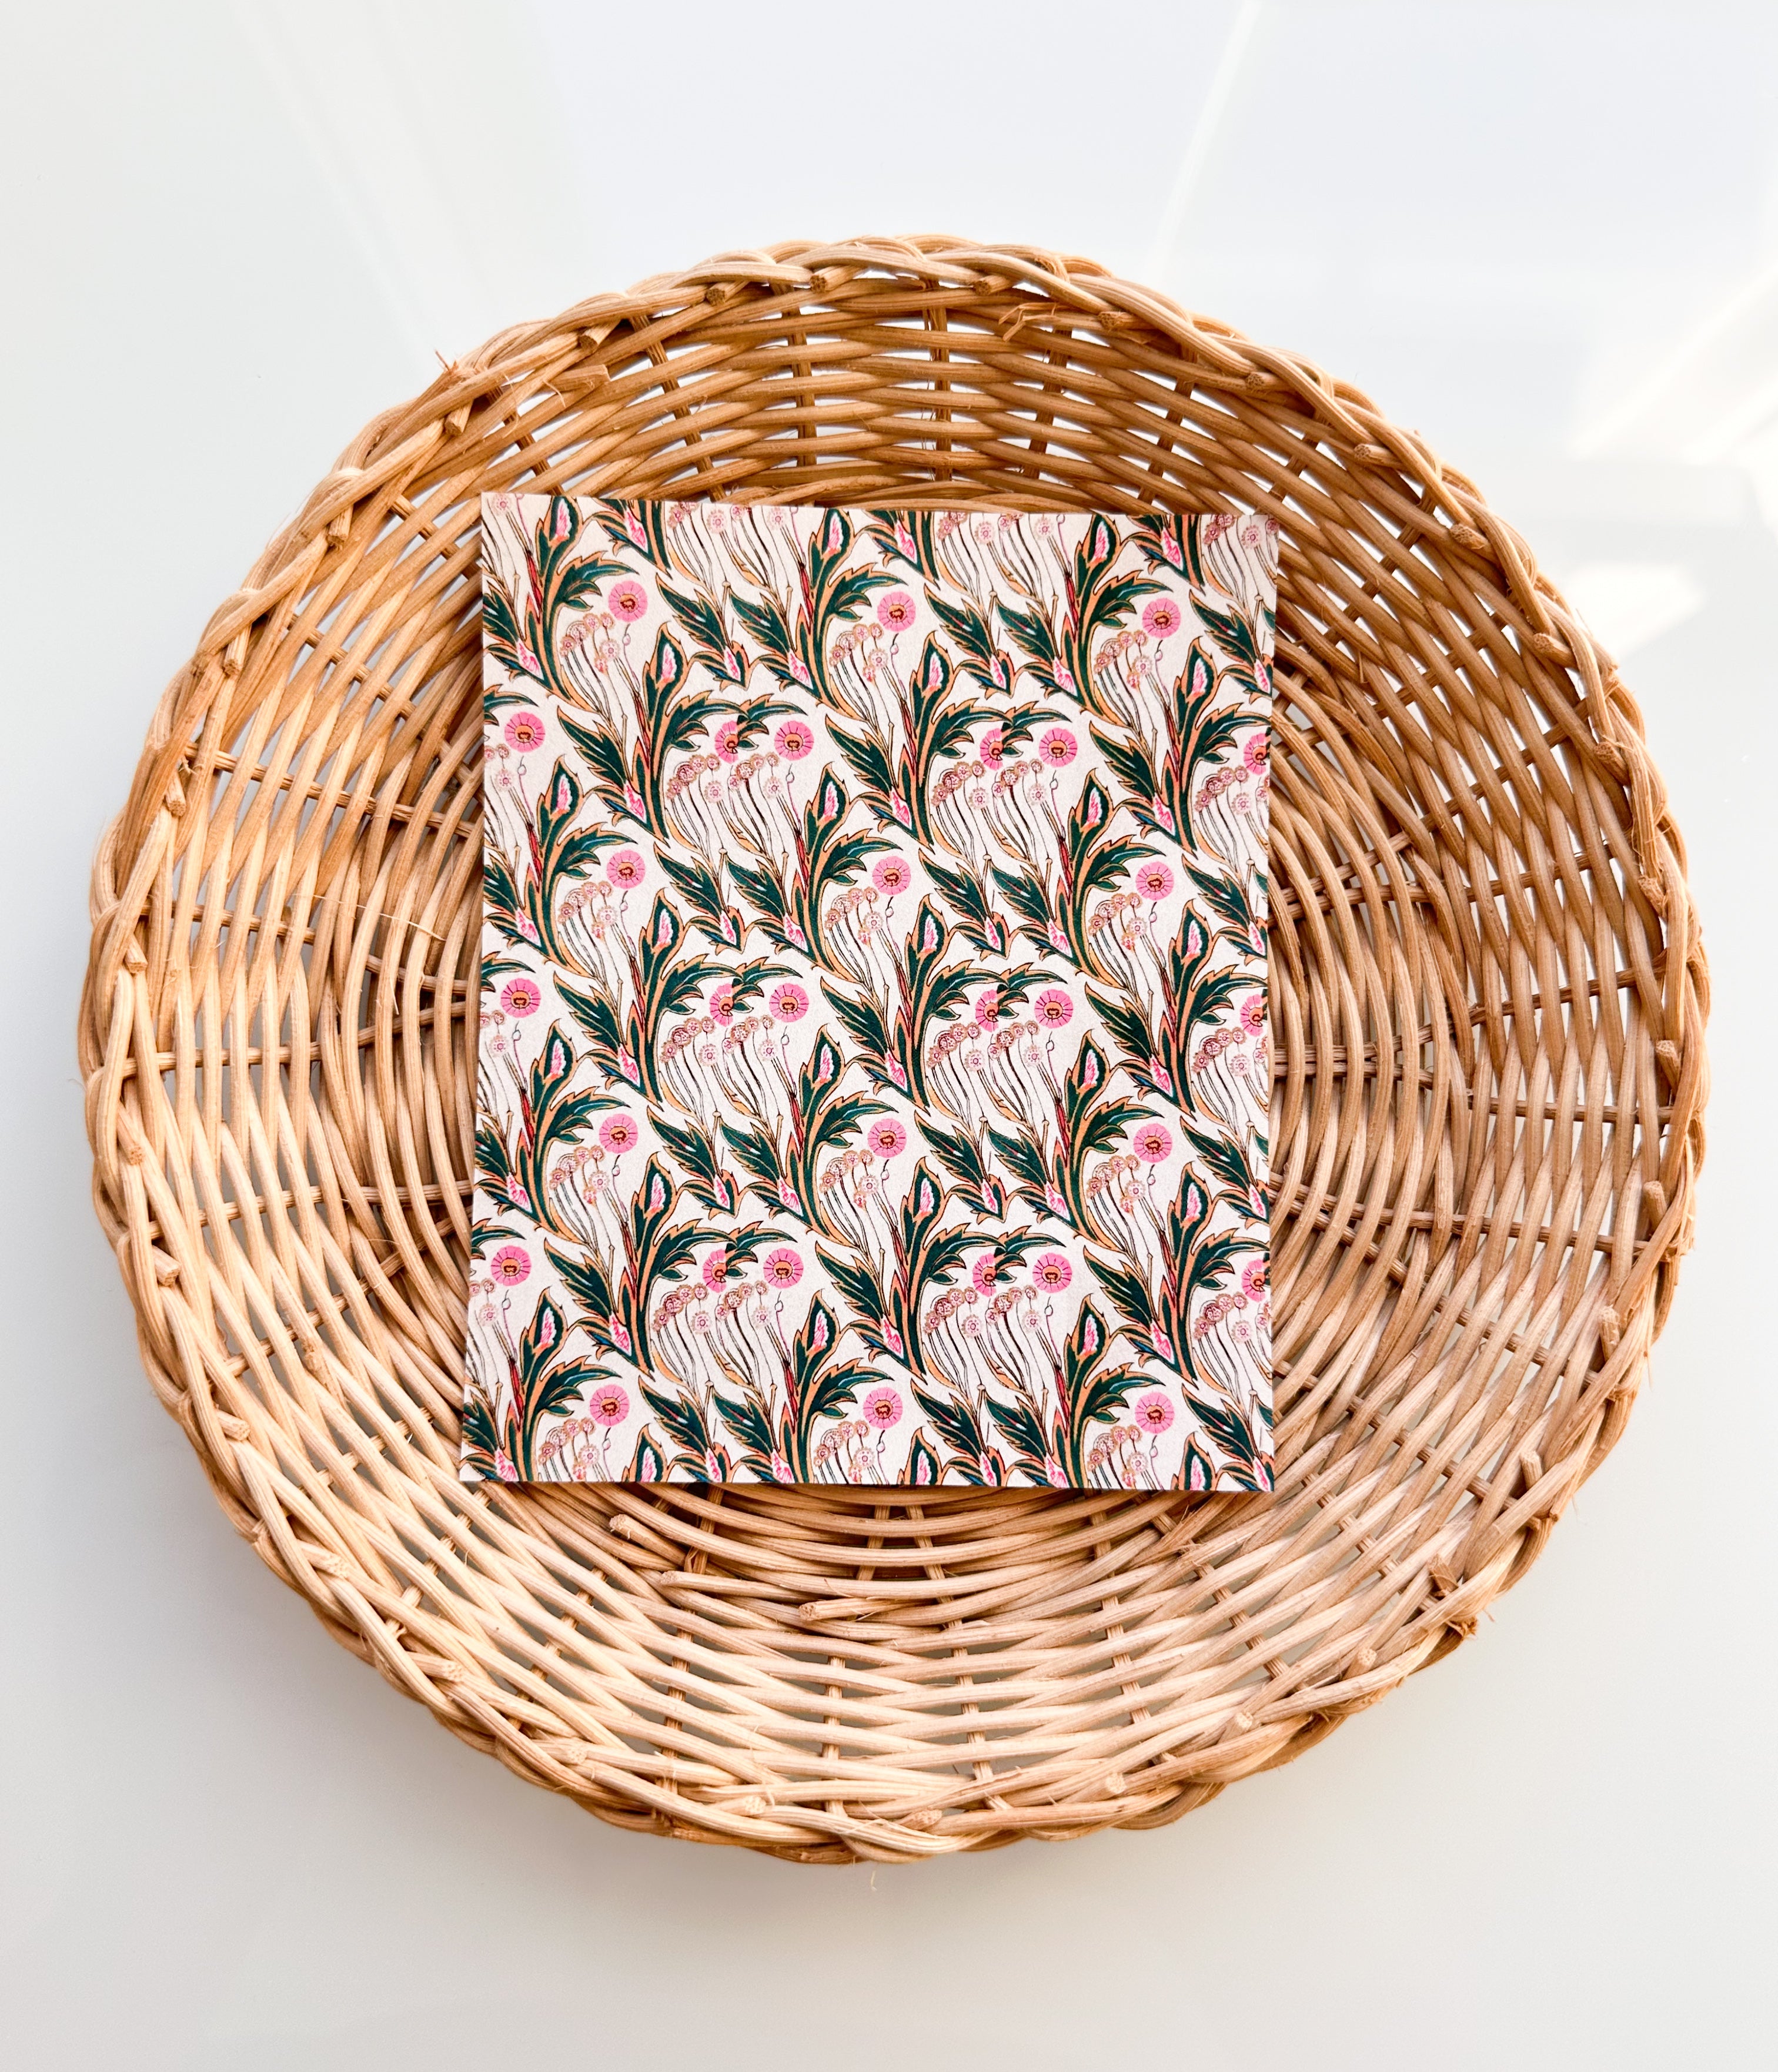
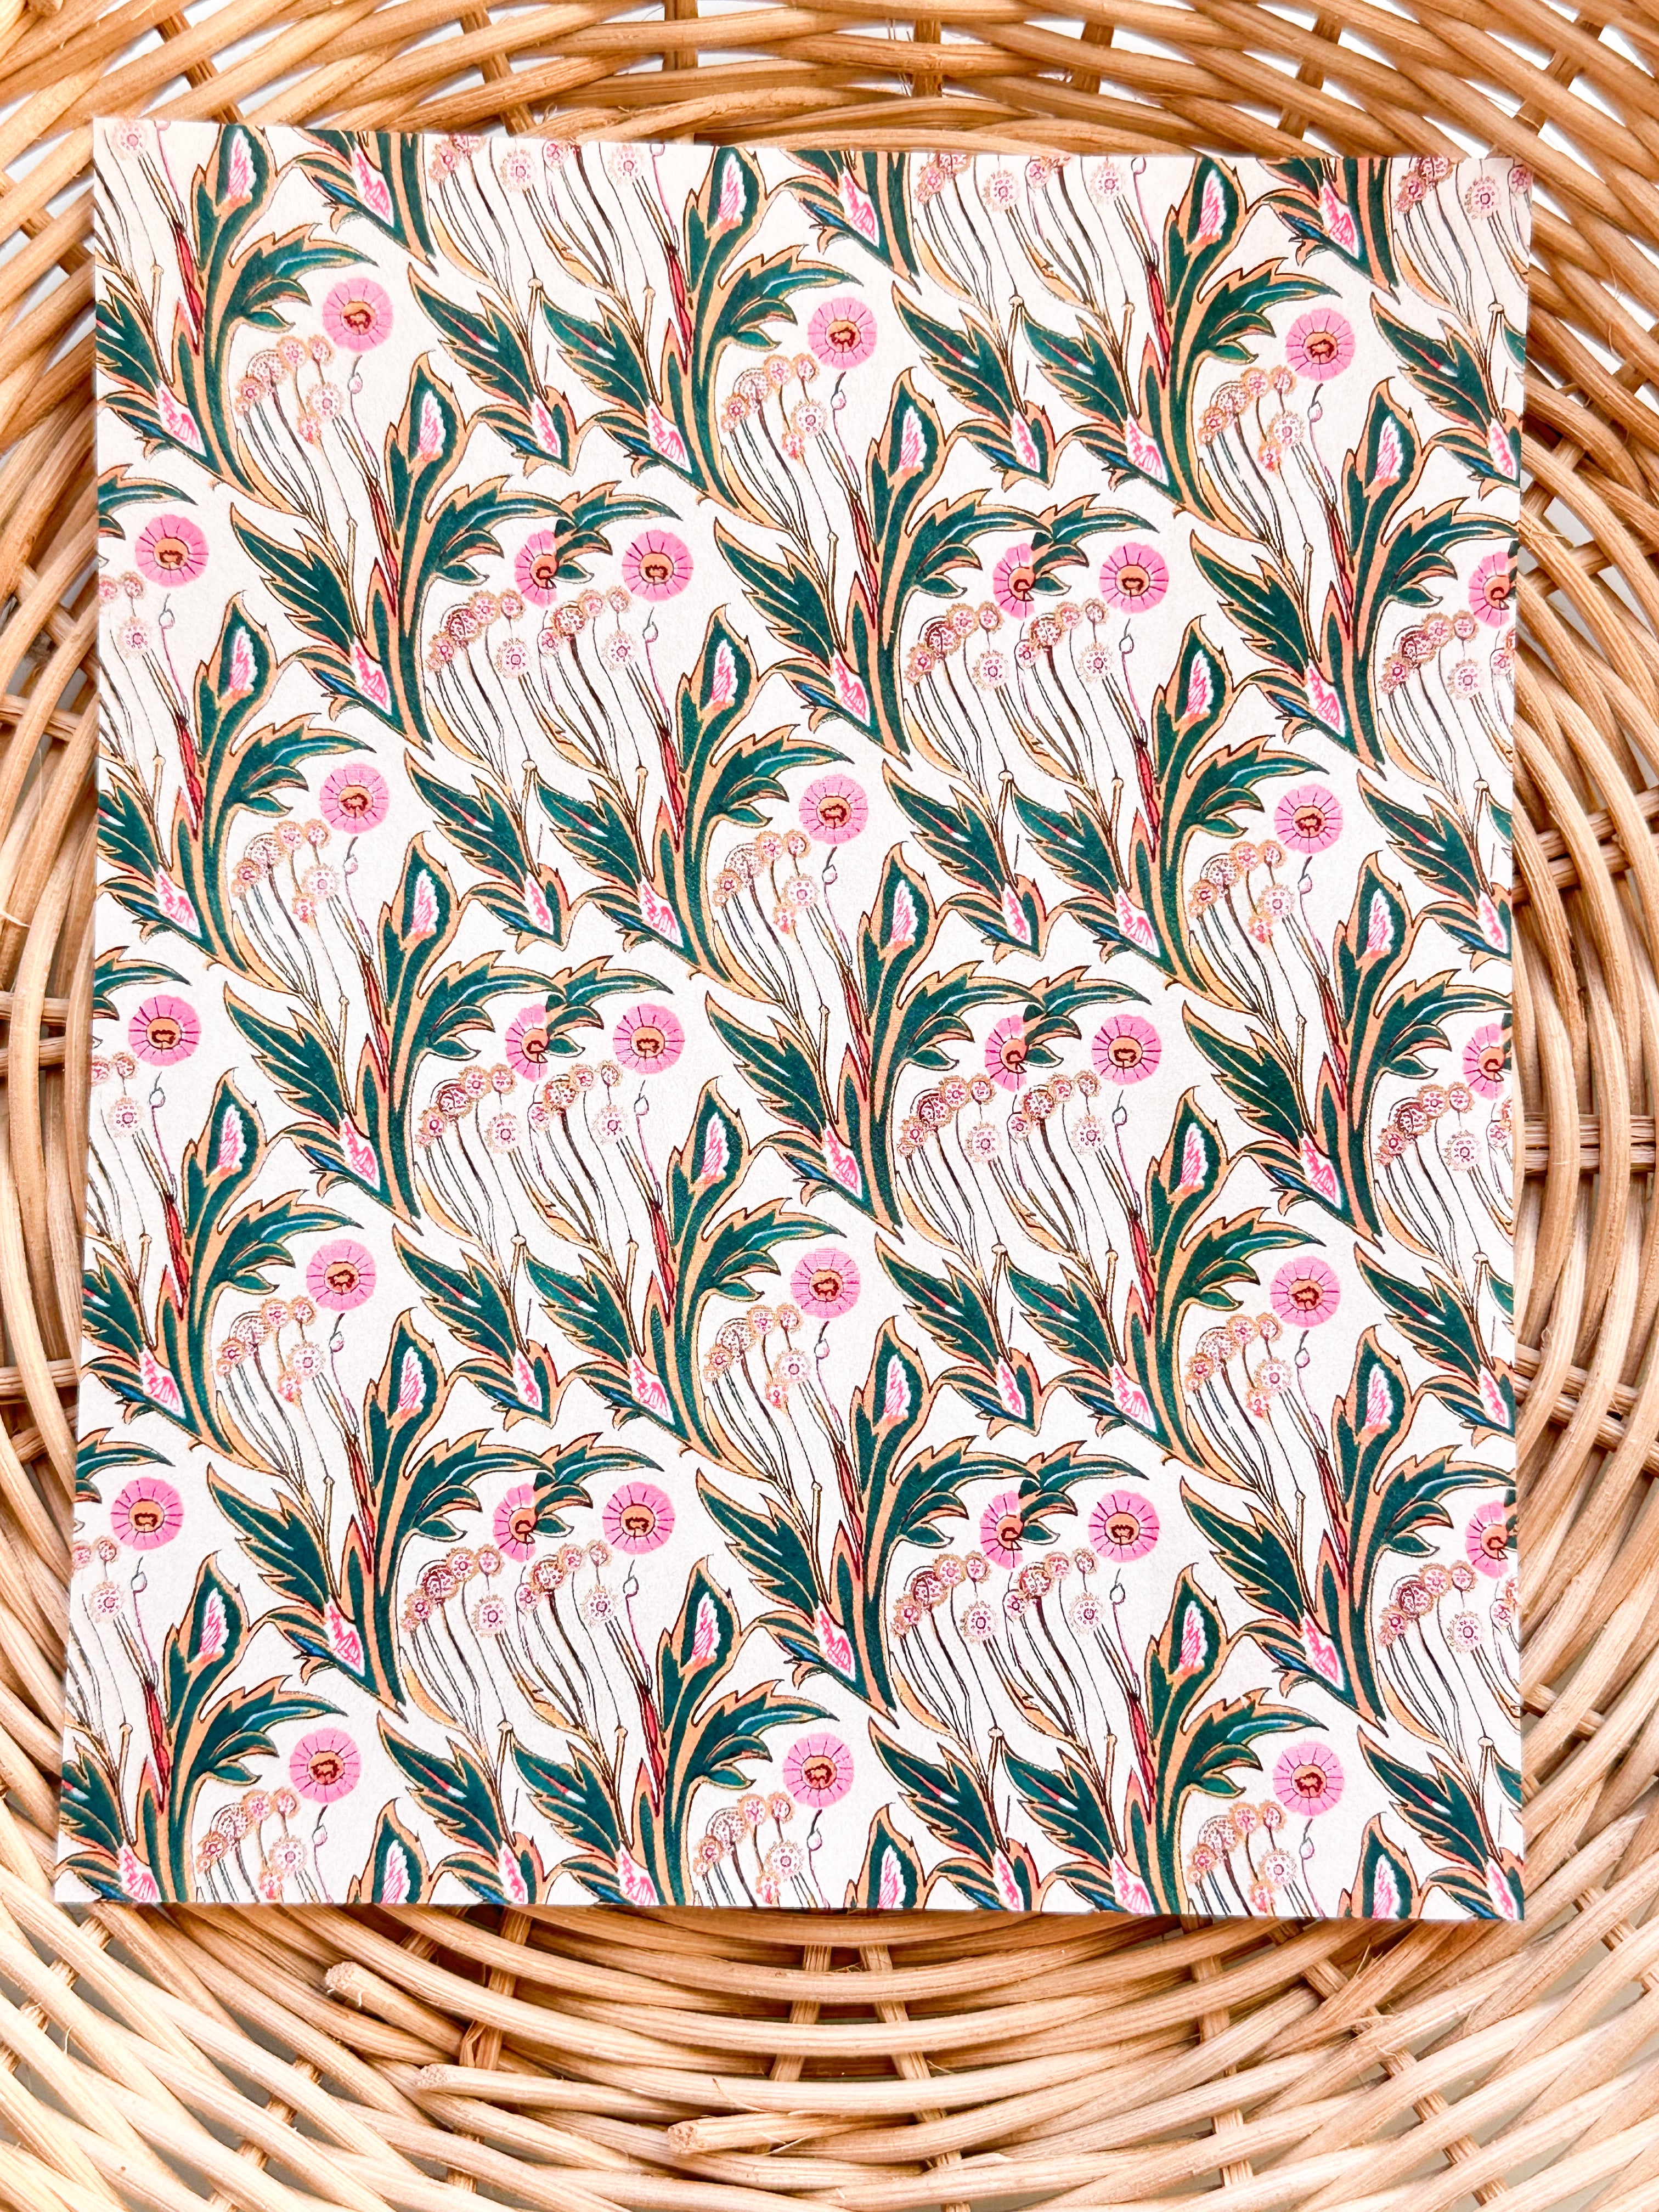
Spring 3 Clay Transfer Paper
- Regular price
-
$4.00 - Regular price
-
- Sale price
-
$4.00
SIZE: Approximately 4" wide x 5" tall
CLAY IMAGE TRANSFER HOW TO -
These are best used on light-colored clay.
Before You Bake:
1.Roll your conditioned clay slab onto your tile.
2.Once your clay is secure and smooth on your tile, lay your transfer paper brightest side down onto your clay.
3.Next, using your acrylic roller, lightly roll the transfer paper on the clay to with your roller to ensure the transfer paper is secure on the clay.
Take your tile and clay, place it under a faucet with lightly running cool water.
4.Once the paper is rinsed away you can take you fingers and GENTLY wipe away the rest of the paper. This isn't always needed - but if needed please use very gently wipes and pressure as it can damage the design if wipes too much.
5.You can then use a paper towel or tissue to very gently dot/dab and dry any water that is sitting on the clay. Please do this very gently as well.
6.Once the water is dried, your clay slab is now ready to cut!!
After Baking:
You can sand your pieces as you normally would. Sealing isn't necessary, but I definitley recommmedn taking this step to ensure th design lasts and doesn't fade or scratch over time. You can seal with a glossy or matte finish polyurethane, or with a UV resin. I recommend DuraCLear Ultra Matte, or SANNA UV resin Clear.
----------------------------------------
Please note: I am not responsible for replacing the transfer if use or handled with care, or not stored with properly. Thank you for your understanding.
Couldn't load pickup availability


Spring 3 Clay Transfer Paper
- Regular price
-
$4.00 - Regular price
-
- Sale price
-
$4.00


